Command Center: Mouse Control
Piper command center: Mouse Control
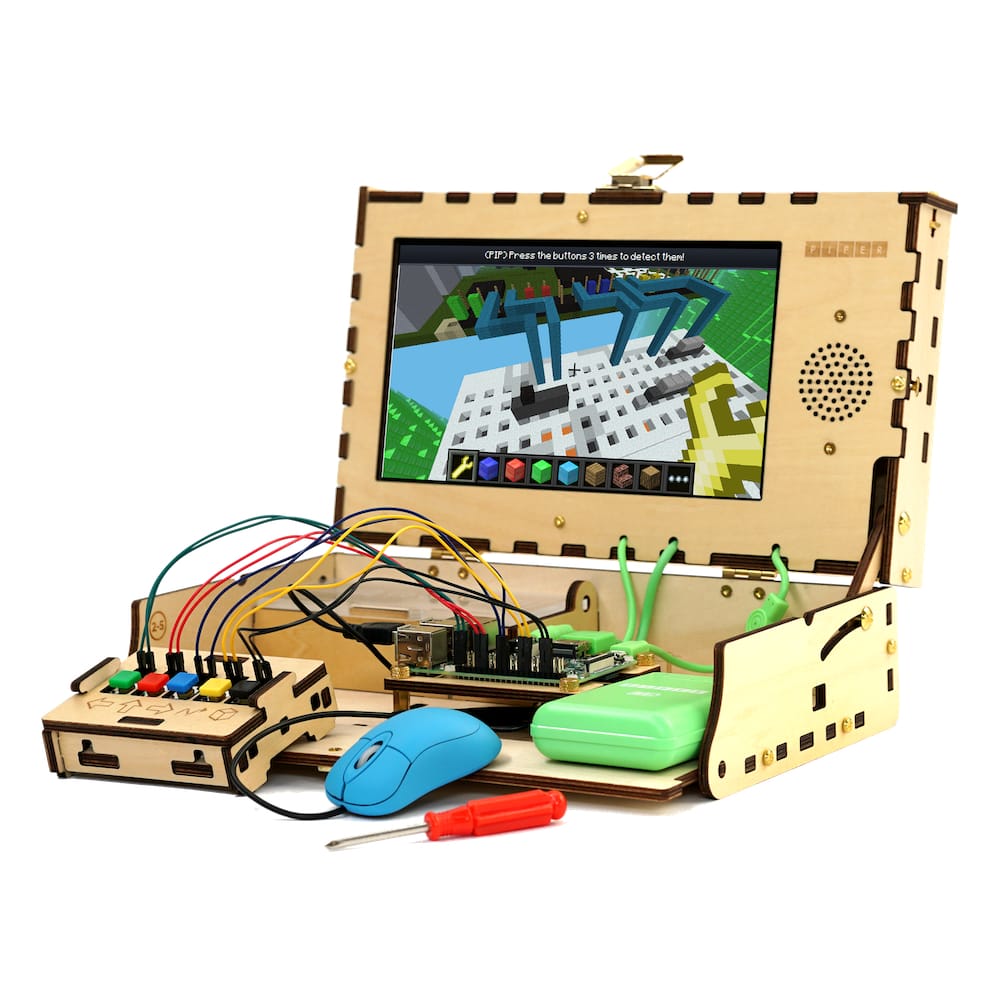
To do this project, you will need a Piper Computer Kit
Skills & Time
![]()
Time: 30 minutes Skills: Electronics, Coding Skill Level: Moderate
(Note: 30 minute time estimate if Command Center is already built.)
Objective:
Learn how to register "mouse" movement with code.
Project Overview:
In order to sketch with processing, you need to learn how to register the “mouse” movement with code. In this case, the joystick moves in place of the mouse by using the same sketch as you would with a mouse. When coding different electrical components, you can swap out the physical forms using the same code.
Materials Needed:
- Piper Command Center
- Piper Computer Kit
- TBD
- TBD
- TBD
Accessing Arduino
1. Open Arduino IDE
Processing Sketch
The goal is to map the controls to work with the Processing sketch.
2. Open up a new sketch.
3. Upload code: “Arduino Sketch: ControllerDefault”.
4. Open your Processing IDE.
5. Follow along with the following tutorial: https://processing.org/examples/pattern.html
Troubleshooting
The line weight changes when you draw. Find the line of code of the stroke weight and experiment by changing the values. How does this line of code affect the drawing?
Not official Minecraft product. Not approved by or associated with Mojang. The Raspberry Pi Edition of Minecraft by the Raspberry Pi Foundation is licensed under the Creative Commons Attribution 4.0 International License.
