Piper Command Center - Synthesizer Project
Piper command center: Create a synthesizer project
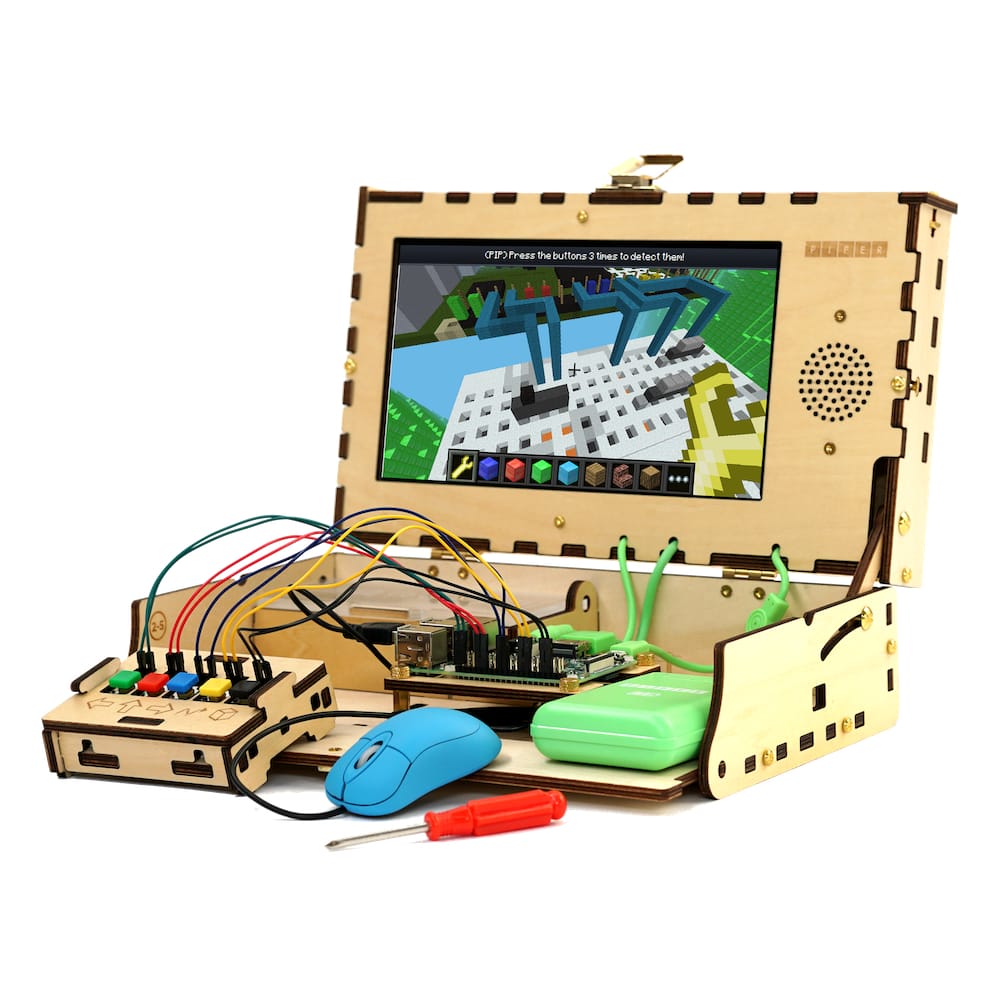
To do this project, you will need a Piper Computer Kit
Skills & Time
![]()
Time: 30 minutes Skills: Electronics, Coding Skill Level: Moderate
(Note: 30 minute time estimate if Command Center is already built.)
Objective:
Build a working synthesizer and make music on a Piper Computer Kit or Computer.
Project Overview:
[TBD - this paragraph is a placeholder for now.] In this project, you will be connecting electrical wires and buttons between a breadboard and the Arduino microcontroller, then programming the microcontroller to replicate keystrokes on a keyboard.
Communication will take place through a USB cable (micro USB to USB).
The base code to make the controller work is written for the user but may be modified to adjust which buttons on the controller do which functions.
Materials Needed:
- Piper Command Center
- Piper Computer Kit
- TBD
- TBD
- TBD
Flash the Firmware onto Arduino
First, we will flash the firmware onto the Arduino. This will allow the button presses and joystick movement to be sent to processing for playing sound via the Serial port.
- Open up an Arduino sketch and then copy the following code into the sketch.
- Compile the code and upload.
- Open up the Serial Monitor to make sure commands are getting sent. Move the joystick and press buttons to see the command changes.

(INSERT ARDUINO SYNTHESIZER CODE HERE)
Load the Firmware for the Minecraft Controller Mod
Copy and paste the code below to interpret the data received from the Arduino and transform it into musical sounds.
/*
Arduino sketch for sending serial commands to generate sound in Processing.
In Processing Each button would generate a tone with a frequency proportional to the button number.
The joystick left-right direction shifts the frequency of the tone and up-down direction control the volume.
*/
/////////////////////////////////////////////////////////////////////////
// Pin mappings to Arduino Micro according to the assembly instructions
enum ArduinoPinMap {
// Button & LED Pins
LeftButtonPin = 8,
RightButtonPin = 9,
UpButtonPin = 6,
DownButtonPin = 7,
LEDPin = 13,
};
/////////////////////////////////////////////////////////////////////////
const int yAxis = A0; // Joystick Y axis
const int xAxis = A1; // Joystick Y axis
const long JOYSTICK_SAMPLING_PERIOD=100; //Sample joystick every 100ms
const long BUTTON_SAMPLING_PERIOD=200; //Sample button every 200ms
unsigned long prevJoystickTime=0;
unsigned long prevButtonTime=0;
void setup()
{
pinMode(UpButtonPin, INPUT_PULLUP);
pinMode(LeftButtonPin, INPUT_PULLUP);
pinMode(RightButtonPin, INPUT_PULLUP);
pinMode(DownButtonPin, INPUT_PULLUP);
}
void loop()
{
unsigned long currentTime = millis();
//Send data based on the chosen sampling time
if(currentTime - prevJoystickTime >= JOYSTICK_SAMPLING_PERIOD)
{
// Read the two axes:
int yReading =analogRead(yAxis);
int xReading =analogRead(xAxis);
//Send joystick measurements to serial
Serial.print("X");
Serial.print(xReading);
Serial.print("e");
Serial.print("Y");
Serial.print(yReading);
Serial.print("e");
//update last joystick read time
prevJoystickTime=currentTime;
}
if (currentTime-prevButtonTime>BUTTON_SAMPLING_PERIOD)
{
//Send button press events to serial
if(!digitalRead(UpButtonPin))
Serial.print("B1e");
else if(!digitalRead(DownButtonPin))
Serial.print("B2e");
else if(!digitalRead(LeftButtonPin))
Serial.print("B3e");
else if(!digitalRead(RightButtonPin))
Serial.print("B4e");
//update last button read time
prevButtonTime=currentTime;
}
}
Command Center Sound Demo
Modify the code so that the size of the circle changes with the sound amplitude. Modify the code so that the color of the circle changes with the frequency.
Not official Minecraft product. Not approved by or associated with Mojang. The Raspberry Pi Edition of Minecraft by the Raspberry Pi Foundation is licensed under the Creative Commons Attribution 4.0 International License.
