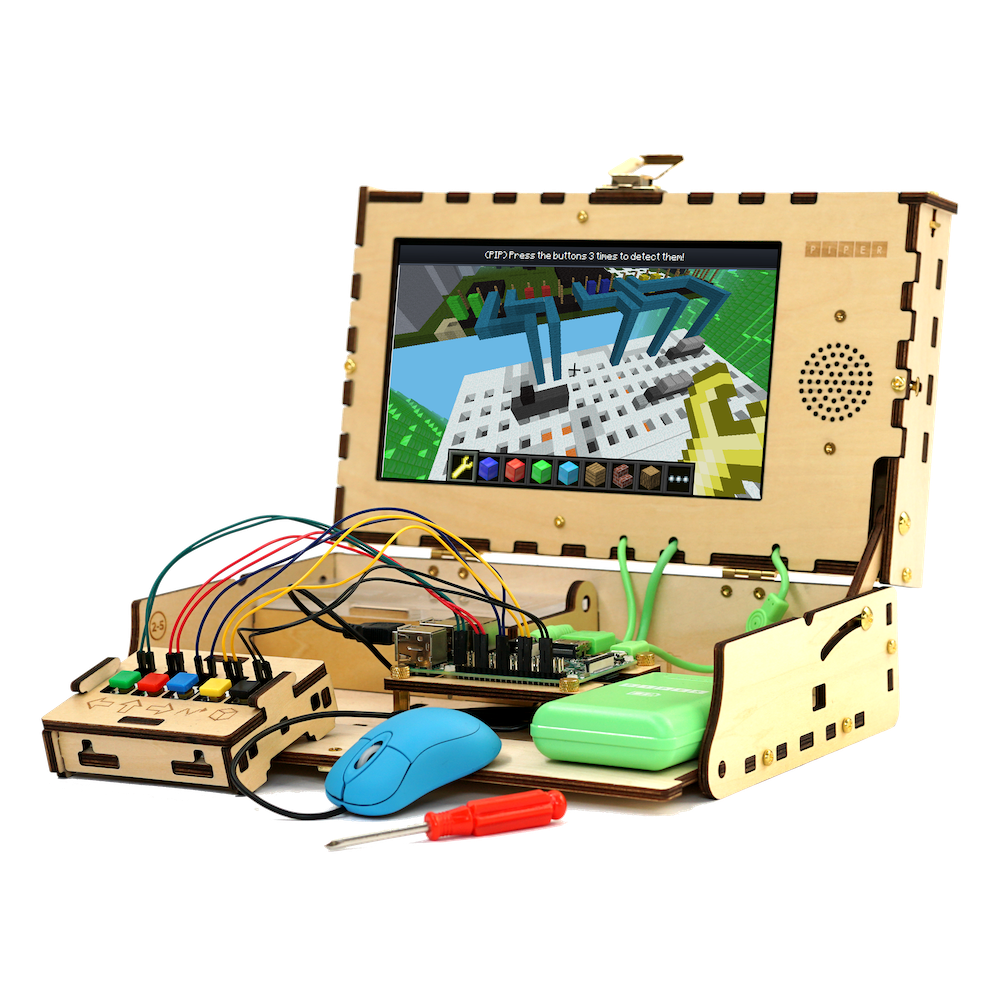
To do this project, you will need a Piper Computer Kit
StoryMode Project Guide - Return to Cheeseteroid
StoryMode: Return to Cheeseteroid
Skills and Time
Time: 30 minutes Age Range: 8+ Difficulty: Advanced
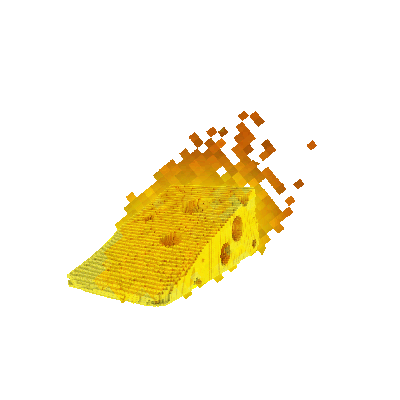
Return to Cheeseteroid
To access this project from the Piper Computer Kit main menu, click StoryMode then click Cheeseteroid.
Look for the planet image like you see on the right!
(Note: You must have completed all StoryMode planets before unlocking Return to Cheeseteroid.)
Introduction
Get ready because Piperbot will face his toughest challenge yet...the Cheeseteriod. Help Piperbot recall different structures from memory to cross the chasm and pave platforms. Once completed, you will have successfully helped Piperbot save Earth and unlock CreativeMode. In CreativeMode, students can invent and build their own circuits. Can you help Piperbot save Earth from the Cheeseteroid? Good luck!
Concepts
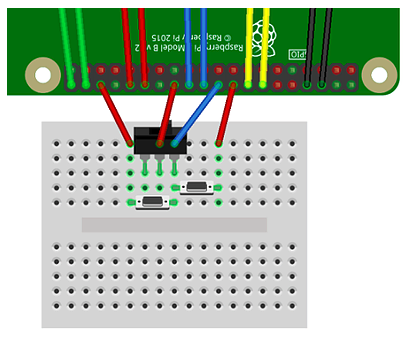
In this level, there is a similar button and switch setup like the one in Funky Fungi. Piperbot will have to alternate between constructing and destroying the cheese world to complete the final mission.
(Note: The switch allows the player to switch between on demand construction/destruction and constant construction/destruction. Use both blue and black wires to connect to the breadboard if not enough blue wires available).

Step 1: Build a Button
Find the crafting table and right click it with the wrench to enter PipingMode and get instructions for building a switch.
Step 2: Power Block
Once back in the game, go to the power block (blue block with yellow blocks on it) and press the button. You will see that the button makes a bridge for you to follow. Find the crafting table and right click with your wrench.
Step 3: Build Button #2
PipingMode instructions will have you build a second button. Once back in the game, the second button will react to the red blocks. The first button reacts to the blue blocks. Continue to follow the blue path until you find another crafting table.
Step 4: Build a Switch
Now we will build a switch. That's 3 inputs on one breadboard!
Step 5: Obsidian
Use the switch to send a constant signal, turn it off to enter on-demand mode. Look for a gap in the blocks to get through. Continue to follow the blue blocks.
Step 6: You Have Saved Earth Piperbot!
You have finished StoryMode! Now the crafting table will instruct you to build the controller black button which may be used in CreativeMode.

Troubleshooting
When you see what both power blocks are doing, be sure to look out for a crack in the geometry. Keep building destroying, and alternating from constant and on-demand mode until you get through. When the world is saved, a message is played.
Not official Minecraft product. Not approved by or associated with Mojang. The Raspberry Pi Edition of Minecraft by the Raspberry Pi Foundation is licensed under the Creative Commons Attribution 4.0 International License.
