Connect Arduino with Sketch
This tutorial walks you through the process of setting up communications between a Microcontroller Board and the processing interface. After learning this tutorial, you have the gateway to control any pin on the Microcontroller Board with a Processing Sketch.
STEP 1
Note: This project requires a Chrome-based browser (It will not work with Firefox or Safari).- Detach Controller Piece #7 or #8 so that you can view the Microcontroller Board.
- Open your Arduino IDE or Arduino Create.
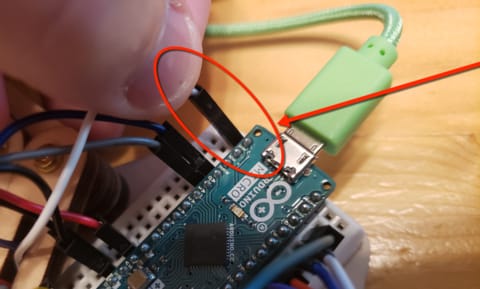
STEP 2
IMPORTANT: Disconnect the white wire connected to PIN 13 of the Arduino on your Command Center!
STEP 3
Goal: set up the Serial Command Blink sketch- Open up a new sketch.
- Copy or Write in the following code and upload:
STEP 4
Goal of this code is to set up the communication between the Microcontroller Board and p5.js. Once that is set up, you then design an interface to control the Microcontroller Board Pins by clicking on the box in the p5.js window. In this case, you will communicate with pin 13 on the Microcontroller Board to light the LED.- Click the link below. It will open in a new tab.
- Click the Play button to run the sketch.
- Select the Arduino Micro by clicking on it, then clicking "Connect"
- Click on the box to toggle the LED.
STEP 5
When done:
- Reconnect the white wire on your Command Center to Pin 13.
- Reattach Controller Piece #7 or #8.
